How to Clean Your Helmet Properly
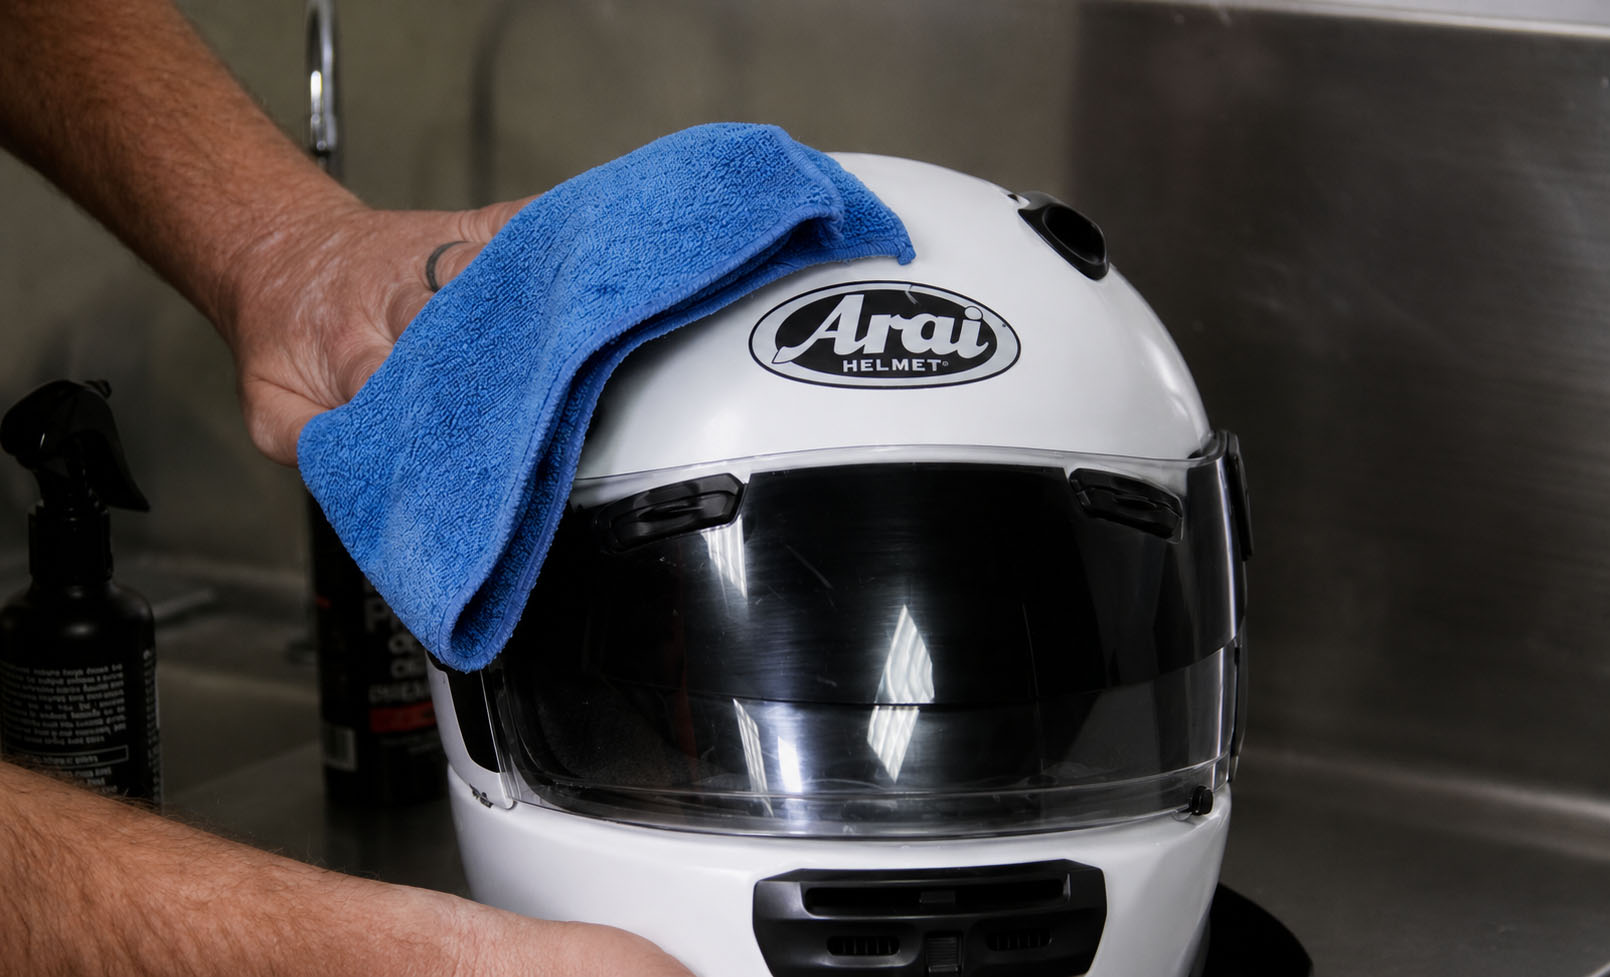
A motorcycle helmet accumulates sweat, dead skin, road grime, and insect protein with impressive efficiency. Most riders wipe the visor occasionally and leave it at that. Here's how to actually clean one, from shell to liner, without damaging anything.
The process takes 20 minutes and should happen monthly if you ride regularly, or after any particularly sweaty or muddy ride.
What You'll Need
- Microfibre cloths (minimum two — one damp, one dry)
- Warm water
- Mild soap (baby shampoo or dish soap — nothing with solvents or alcohol)
- A soft brush (an old toothbrush works)
- Helmet liner bag or pillowcase for liner washing
- Pinlock-safe visor cleaner or plain water
- Optional: dedicated helmet cleaner like FM Helmet Fresh
Do not use: petrol, WD-40, alcohol-based cleaners, acetone, harsh degreasers, or anything not explicitly marked safe for helmet use. These damage the shell, the visor coating, and the anti-fog Pinlock insert.
Step 1: Remove the Visor and Interior Liner
Most modern helmets have tool-free visor removal — a tab or button at the pivot point. Check your helmet's manual. The liner (cheek pads and crown pad) typically unclip with press studs or velcro. Take everything out.
If your helmet has a Pinlock anti-fog insert, remove it from the visor before cleaning. It's a separate lens clipped inside the main visor. Set it aside.
Step 2: Clean the Shell
Dampen a microfibre cloth with warm water and mild soap. Wipe the exterior shell in smooth strokes. For bug splatter — which bonds to the shell quickly in heat — lay a damp cloth over the affected area for a few minutes to soften it before wiping. Don't scrub.
Pay attention to the ventilation ports. A soft brush (toothbrush) with soapy water clears compacted grit from the intake vents. Rinse with a clean damp cloth.
Do not submerge the helmet. Water can enter the EPS liner and take days to dry. The EPS liner is glued inside the outer shell — you can't remove it, and saturating it is bad for both the material and your relationship with your helmet smell.
Step 3: Clean the Visor
The visor is the most easily damaged part of the cleaning process. Scratches are permanent and appear as blurred streaks when riding at night against headlights.
Use a dedicated visor cleaner or just plain warm water. Apply to a clean microfibre cloth, not directly to the visor. Wipe in straight lines from the centre outward — circular motions trap grit particles and cause circular scratches.
For dried insects: wet the visor with a damp cloth and leave for two minutes. The moisture breaks down the protein. Wipe gently. Never scrub.
The anti-reflective and anti-scratch coatings on quality visors are thin. Treat them gently.
Step 4: Clean the Pinlock Insert
If your helmet came with a Pinlock insert (a secondary lens that clips inside the main visor to prevent fogging), clean it separately with warm water and microfibre cloth. The Pinlock has a silicone seal around the edge — check it's intact and pliable. A damaged seal lets moisture in between the lenses, causing fog patches that don't clear.
Reattach the Pinlock before reinstalling the visor.
Step 5: Wash the Interior Liner
The liner absorbs everything — sweat, skin oil, product from your hair, and in hot climates, significant amounts of moisture. An uncleaned liner smells bad and the antimicrobial treatment degrades over time.
Remove the cheek pads and crown liner. Most manufacturers recommend hand-washing in cool water with mild shampoo. Some liners can go in a washing machine on a delicate cycle inside a mesh bag or pillowcase — check your helmet's documentation.
Do not machine-dry. Air dry at room temperature, away from direct sunlight. Heat causes the foam to compress and permanently alters the fit.
Dry thoroughly before reinstalling. A damp liner against your skin accelerates both the smell problem and the material degradation.
Step 6: Clean the Interior Shell
With the liner removed, you have access to the inside of the outer shell and the EPS liner surface. Wipe with a damp cloth. Don't apply cleaning products directly to the EPS — it's porous and will absorb them.
Check the EPS while you're in there. The EPS is the white polystyrene foam visible when the liner is out. It should be uniformly structured with no compression marks or cracks. If you see irregularities, the helmet may have absorbed impact force — replace it.
How Often to Clean
Visor: After every ride in dusty, rainy, or insect-heavy conditions. In clean conditions, weekly.
Shell exterior: Monthly or when visibly dirty.
Interior liner: Monthly with regular use, or after rides where you've sweated heavily.
Full process (all steps): Every 2–3 months minimum.
Storage
Store your helmet visor-down or on a helmet stand — a flat surface puts pressure on the shell. Keep it away from petrol and chemical fumes (the garage next to your fuel cans is not ideal). Fuel vapour degrades the shell material over time, even without direct contact.
Don't store in a helmet bag long-term without ventilation — moisture accumulates.
When to Replace (Not Clean)
No amount of cleaning fixes a helmet that's reached its service life. Replace your helmet:
- Every 5 years from date of manufacture (printed inside the shell)
- Immediately after any impact, regardless of how minor it looks
- If the EPS liner shows compression marks
- If the shell is cracked or delaminating
- If the retention system (D-ring or ratchet) is damaged
A clean, well-maintained helmet that's exceeded its service life is still a liability. The EPS degrades chemically even without impacts.
Your clean helmet deserves a clean visor insert — if yours is scratched or the Pinlock seal has failed, it's worth replacing. See our best motorcycle helmets 2026 guide if it's time for an upgrade. For full gear maintenance, our motorcycle maintenance beginner guide covers the complete picture.