The DIY Engine Oil and Filter Change Playbook
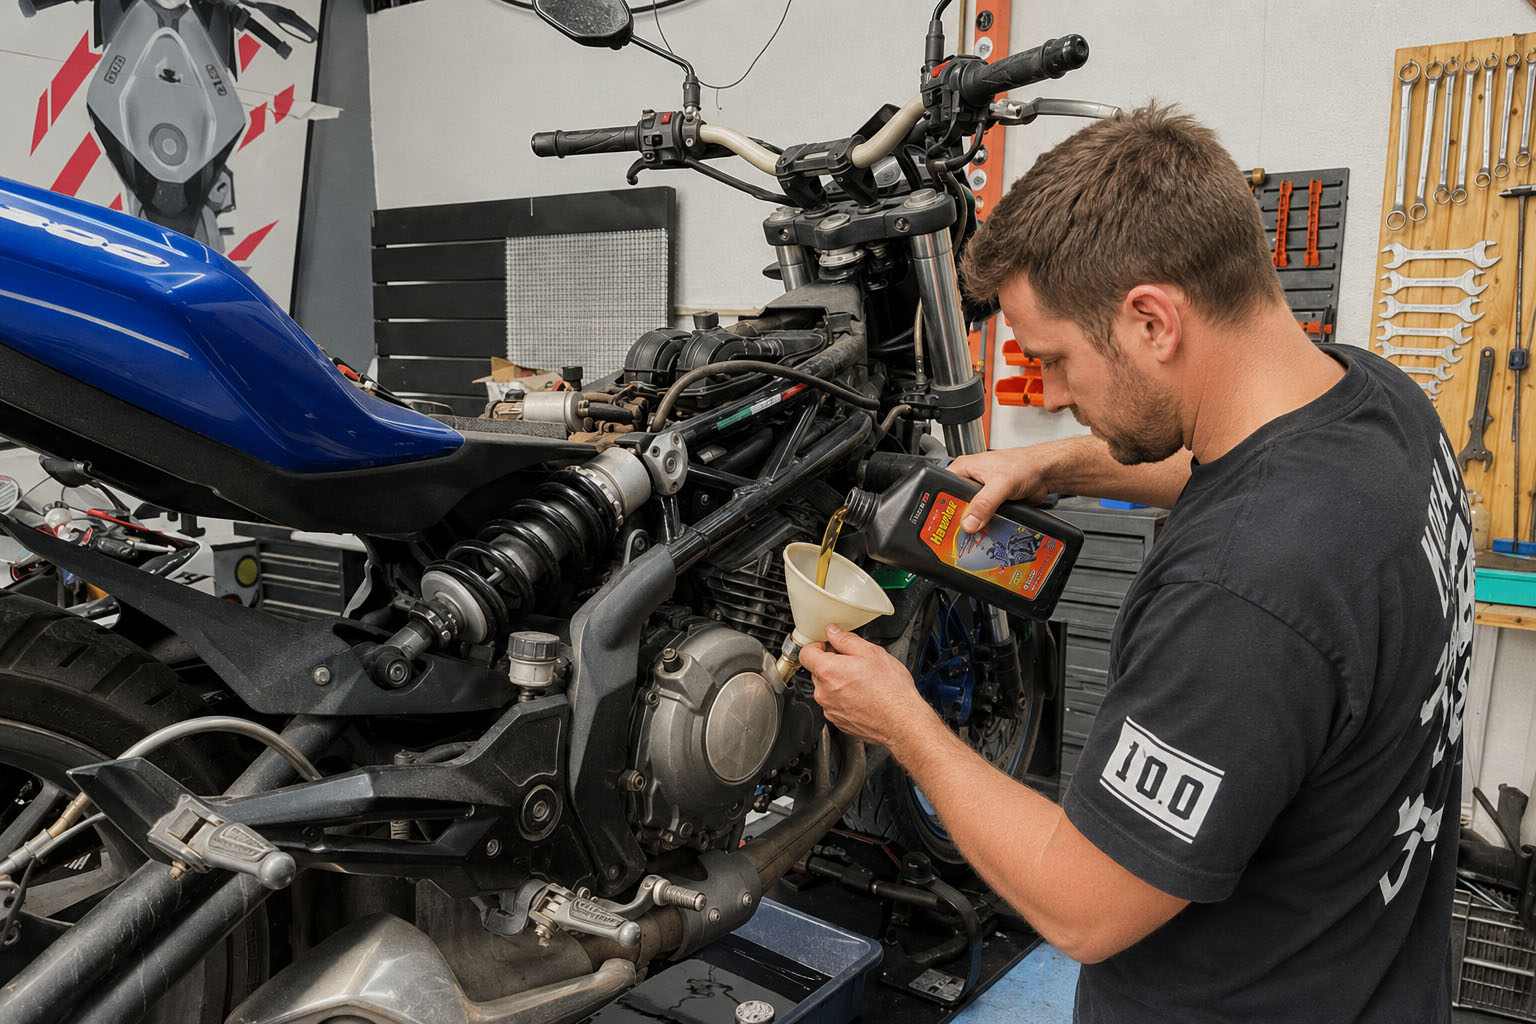
Changing your motorcycle's engine oil is the single highest-return maintenance task you can perform. Fresh oil protects bearing surfaces, flushes metallic debris from internal galleries, and keeps operating temperatures stable. Most modern motorcycles need an oil change every 3,000–6,000 miles depending on oil type and riding conditions.
This guide walks you through the complete process — from warming the engine to final torque on the drain plug.
What You'll Need
Tools:
- Oil drain pan (at least 4L capacity)
- Oil filter removal tool (or strap wrench)
- Socket set with the correct drain plug size (typically 17mm or 19mm)
- Torque wrench
- Funnel
- Clean rags
Consumables:
- Correct grade and quantity of engine oil (check your manual)
- New oil filter (OEM or quality aftermarket)
- New crush washer for the drain plug
Step 1: Warm the Engine First
Run the engine for exactly 3 minutes before draining.
This is not optional. Cold oil is thick and viscous — it clings to internal surfaces and drains slowly and incompletely, leaving a significant quantity of contaminated oil behind. Warm oil is thin and flows freely, carrying suspended metallic particles and combustion byproducts out with it.
Three minutes is the target — enough to circulate warm oil throughout the engine without bringing it to full operating temperature, which would make the drain plug dangerously hot to handle.
Warning: Never drain oil from a fully heat-soaked engine. A 30-minute highway ride leaves oil hot enough to cause serious burns. Wait 15–20 minutes after riding before starting the drain procedure.
After warming up, shut the engine off and position your drain pan under the oil drain plug.
Step 2: Choosing the Right Oil
Motorcycle-Specific Oil vs Car Oil
This is the most common mistake DIY mechanics make. Do not use car engine oil in a motorcycle with a wet clutch.
Motorcycles with wet clutch systems (most modern bikes) share oil between the engine and gearbox/clutch. Car oils contain friction modifiers — additives specifically designed to reduce friction, which is exactly what you want in a car's automatic transmission or sealed engine. In a wet clutch motorcycle, these same friction modifiers cause clutch slippage, grabbing, and premature clutch plate wear.
Look for:
- JASO MA or JASO MA2 rating — the international standard for wet clutch compatible motorcycle oil
- The correct viscosity grade for your engine (e.g., 10W-40, 15W-50) — check your owner's manual
- Full synthetic for modern high-revving engines; semi-synthetic for older or air-cooled engines
Synthetic vs. Mineral Oil
| Type | Change Interval | Best For |
|---|---|---|
| Mineral | 2,000–3,000 miles | Older engines, run-in periods |
| Semi-synthetic | 4,000–5,000 miles | General road use |
| Full synthetic | 5,000–6,000 miles | Modern engines, track use |
Step 3: Remove the Drain Plug
- Place the drain pan beneath the plug
- Using the correct socket, break the drain plug loose counter-clockwise
- Once loose, finish removing by hand — keep upward pressure on the plug as you unscrew the final threads to control the flow
- Step aside as the oil rushes out — it will flow fast initially
Inspect the old crush washer as it comes off with the plug. The crush washer is a soft aluminium or copper ring that deforms slightly when torqued to create an oil-tight seal. It should be replaced at every oil change — reusing a crushed washer risks a slow leak or sudden blowout.
Never cross-thread the drain plug. Always start threading by hand. If it resists after the first two turns, stop immediately, remove it, and restart. A cross-threaded drain plug in an aluminium sump is an expensive repair.
Let the engine drain for a full 5 minutes.
Step 4: Remove and Replace the Oil Filter
Pre-lubricate the New Filter Gasket
Before installing the new filter, apply a thin smear of fresh engine oil to the rubber gasket on the filter's mating face. This serves two purposes:
- Creates an immediate seal on first contact
- Prevents the gasket from tearing when you later remove the filter
To remove the old filter:
- Position a rag below it to catch residual oil
- Use an oil filter wrench or strap wrench to break it loose counter-clockwise
- Finish by hand — oil will spill as it comes free
To install the new filter:
- Thread it on by hand until the gasket contacts the engine surface
- Tighten a further ¾ turn only — do not use a tool to tighten
- Over-tightening crushes the gasket and makes future removal extremely difficult
Step 5: Reinstall the Drain Plug
- Fit the new crush washer onto the drain plug
- Thread in by hand — full thread engagement before applying any tool
- Torque to specification: typically 20–30 Nm (check your service manual — this varies significantly between engines)
Torque is not optional. Under-torquing leads to leaks. Over-torquing strips the sump threads — a repair that can cost hundreds. A basic torque wrench costs $20 and pays for itself on the first use.
Step 6: Fill With Fresh Oil
- Remove the oil filler cap (typically on top of the engine or valve cover)
- Insert a clean funnel
- Pour in slightly less than the stated capacity — oil filters hold 100–300ml, and you'll overfill if you pour in the full drain quantity
- Check the sight glass or dipstick — add oil in small amounts until you reach the upper mark
- Replace the filler cap
Start the engine and let it idle for 60 seconds. Watch for the oil pressure warning light — it should extinguish within 3–5 seconds as the new filter fills and pressure builds. If the light stays on, shut off immediately and investigate.
- Check beneath the bike for any drips from the drain plug or filter
- Shut off, wait 3 minutes for oil to settle back into the sump
- Recheck the oil level — top up if needed
Tracking Your Oil Change History
Keep a small notebook in your garage or use a note on your phone:
- Date and mileage of each oil change
- Brand and grade of oil used
- Whether the filter was changed
- Crush washer status
This becomes invaluable when diagnosing consumption issues or preparing to sell the bike.
Quick-Reference Checklist
- [ ] Engine warmed for 3 minutes before drain
- [ ] Correct JASO MA / MA2 rated oil selected
- [ ] New crush washer fitted to drain plug
- [ ] New filter gasket pre-lubricated with fresh oil
- [ ] Filter hand-tightened ¾ turn past contact — no tools
- [ ] Drain plug torqued to spec with torque wrench
- [ ] Oil filled to correct level on dipstick/sight glass
- [ ] Engine started — oil pressure light extinguished within 5 seconds
- [ ] Checked for leaks — drain plug and filter area