How to Inspect and Replace Front and Rear Brake Pads
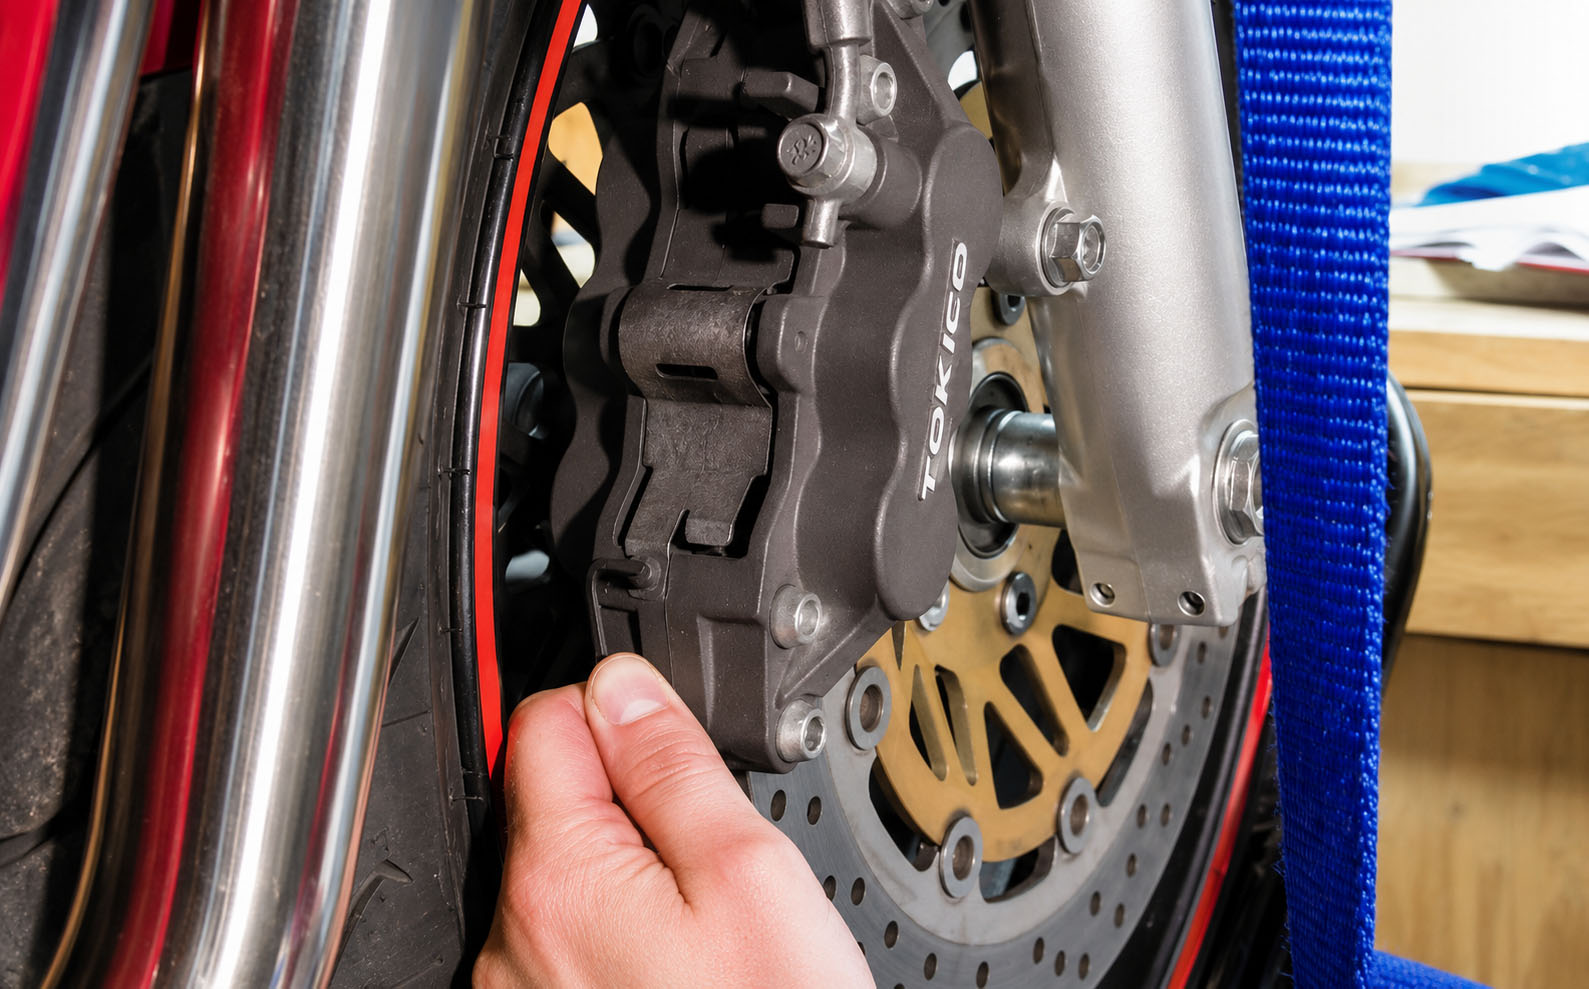
Brake pads are a consumable — they wear down by design. The danger isn't the wear itself, it's the failure to notice it in time. When brake pads wear through their friction material and the metal backing plate contacts the rotor, stopping distances increase dramatically, rotors score instantly, and repair costs multiply.
This guide walks you through the full process: visual inspection, measuring wear, caliper removal, piston compression, fitting new pads, and the critical bedding-in procedure.
Why Brake Maintenance Is a Safety Priority
Unlike most mechanical failures that announce themselves with noise or vibration, brake pad failure can be sudden and total. Many pads do include a wear indicator — a small metal tab that produces a squeal when the friction material is nearly gone — but these are a last resort, not a monitoring system.
Inspect brake pads:
- Every 3,000–4,000 miles as part of routine service
- Before any long trip
- After any hard braking event (track day, emergency stop)
- If you notice reduced stopping power, increased lever travel, or any grinding sound
Step 1: Visual Inspection Through the Caliper Window
Most brake calipers have an inspection window — a gap between the caliper body and the disc — through which you can see the pad thickness without removing anything.
Minimum acceptable pad thickness: 2mm of friction material. Most manufacturers recommend replacement at 3mm to provide a safety margin. New pads typically start at 8–10mm.
What to Look For:
- Friction material — the dark, textured compound bonded to the metal backing plate
- If the friction material is less than the width of a $1 coin, replace immediately
- If you can see or hear metal-on-metal contact — the pad is already destroyed and the rotor is likely damaged
Spongy Lever Feel — The Hidden Warning
A spongy or soft lever that requires more travel than usual before brake pressure builds is not a pad wear symptom — it indicates air in the hydraulic brake lines.
Hydraulic fluid is incompressible; air is not. Even a small air bubble in the brake line causes the lever to compress the air rather than actuate the caliper pistons. This is a serious safety issue requiring an immediate brake fluid bleed before the bike is ridden again.
Step 2: Removing the Caliper
Tools needed: Allen keys or Torx bits (typically T40–T45 for caliper bolts), socket set, clean rags, brake piston tool or G-clamp, brake caliper grease
- Remove the wheel if required (rear caliper) or leave the wheel in place (front caliper — easier access)
- Locate the two caliper mounting bolts on the back of the caliper body
- Remove both bolts and gently pull the caliper away from the disc — do not let it hang by the brake hose
- Support the caliper using a bungee cord or cable tie looped around the fork leg or brake hose bracket
- Slide the old pads out of their retaining clips — they may be stiff if they haven't been out before
Never press the brake lever while the caliper is off the disc. The pistons will extend fully and are extremely difficult to push back in without tools.
Step 3: Compressing the Caliper Pistons
New pads are thicker than worn pads. Before fitting them, the caliper pistons must be pushed back into their bores to create clearance.
Before compressing:
- Open the brake fluid reservoir cap on the handlebar — fluid will be displaced back into the reservoir as pistons retract. Lay a rag around the reservoir to catch any overflow.
Method:
- Place an old pad or flat piece of wood against the face of the pistons
- Using a brake piston tool, G-clamp, or large flathead screwdriver, gently and evenly push both pistons back simultaneously
- Apply steady, even pressure — do not push one piston at a time as this forces the opposite one further out
Inspect the piston dust seals as they compress. Cracked, torn, or leaking seals require a full caliper rebuild or replacement before the bike is returned to service.
Step 4: Installing New Brake Pads
-
Apply a thin smear of brake caliper grease to:
- The metal backing plate of each pad (the side that does NOT contact the rotor)
- The pad retaining pins and slides
- Never apply grease to the friction material surface
-
Slide the new pads into the caliper retaining clips — they should seat firmly with a positive click or firm resistance
-
If your caliper uses a retaining pin through the pad, ensure it's correctly seated and the split pin or clip is refitted
-
Remount the caliper over the disc — the pads should slide cleanly over the rotor with no forcing required
-
Refit and torque the caliper mounting bolts to specification (typically 30–40 Nm — check your manual)
-
Pump the brake lever slowly until firm pressure returns — the pistons are extending back out to contact the new pads. Do this before moving the bike.
-
Check brake fluid level in the reservoir — top up with the correct DOT specification if needed
Step 5: The Bedding-In Process
New brake pads must be bedded in before full braking performance is available. This process transfers a thin, even layer of pad material onto the rotor surface, creating a uniform friction interface.
Skipping bedding-in causes:
- Uneven pad transfer, creating vibration and pulsing under braking
- Reduced maximum stopping power
- Risk of brake fade earlier than expected
The Bedding-In Sequence:
Find a quiet straight road. You need to perform this process from a moderate speed — 40–50 km/h — without coming to a complete stop.
- Accelerate to 50 km/h
- Apply firm, progressive brake pressure — about 70% of maximum — and slow to 10 km/h
- Do not stop completely — release the brake and allow the pads to cool slightly as you roll
- Accelerate again to 50 km/h and repeat
- Complete 6–8 repetitions in total
- Then perform 2–3 harder stops from 70 km/h using approximately 90% brake pressure
After bedding in, allow the brakes to cool completely before parking — do not apply the brake lever while stationary as this can imprint uneven deposits on the rotor.
Rotor Inspection — While You're In There
With the caliper removed, this is the perfect opportunity to inspect the rotor:
- Minimum thickness is stamped on the rotor face — measure with a vernier calliper
- Look for deep scoring grooves (caused by metal-on-metal contact from fully worn pads)
- Check for blue discolouration from overheating
- Light surface rust is normal on steel rotors after rain — it clears within 1–2 stops
Quick-Reference Checklist
- [ ] Pad thickness checked through inspection window — minimum 3mm remaining
- [ ] No metal-on-metal grinding or scoring
- [ ] Lever feel firm and consistent — no sponginess
- [ ] Caliper pistons fully compressed before fitting new pads
- [ ] Brake fluid reservoir protected from overflow
- [ ] Caliper grease applied to backing plates only — not friction surface
- [ ] Caliper bolts torqued to specification
- [ ] Lever pumped to firm pressure before riding
- [ ] Bedding-in sequence completed on a quiet road