The Art of Motorcycle Photography: How to Shoot Bikes Like a Pro
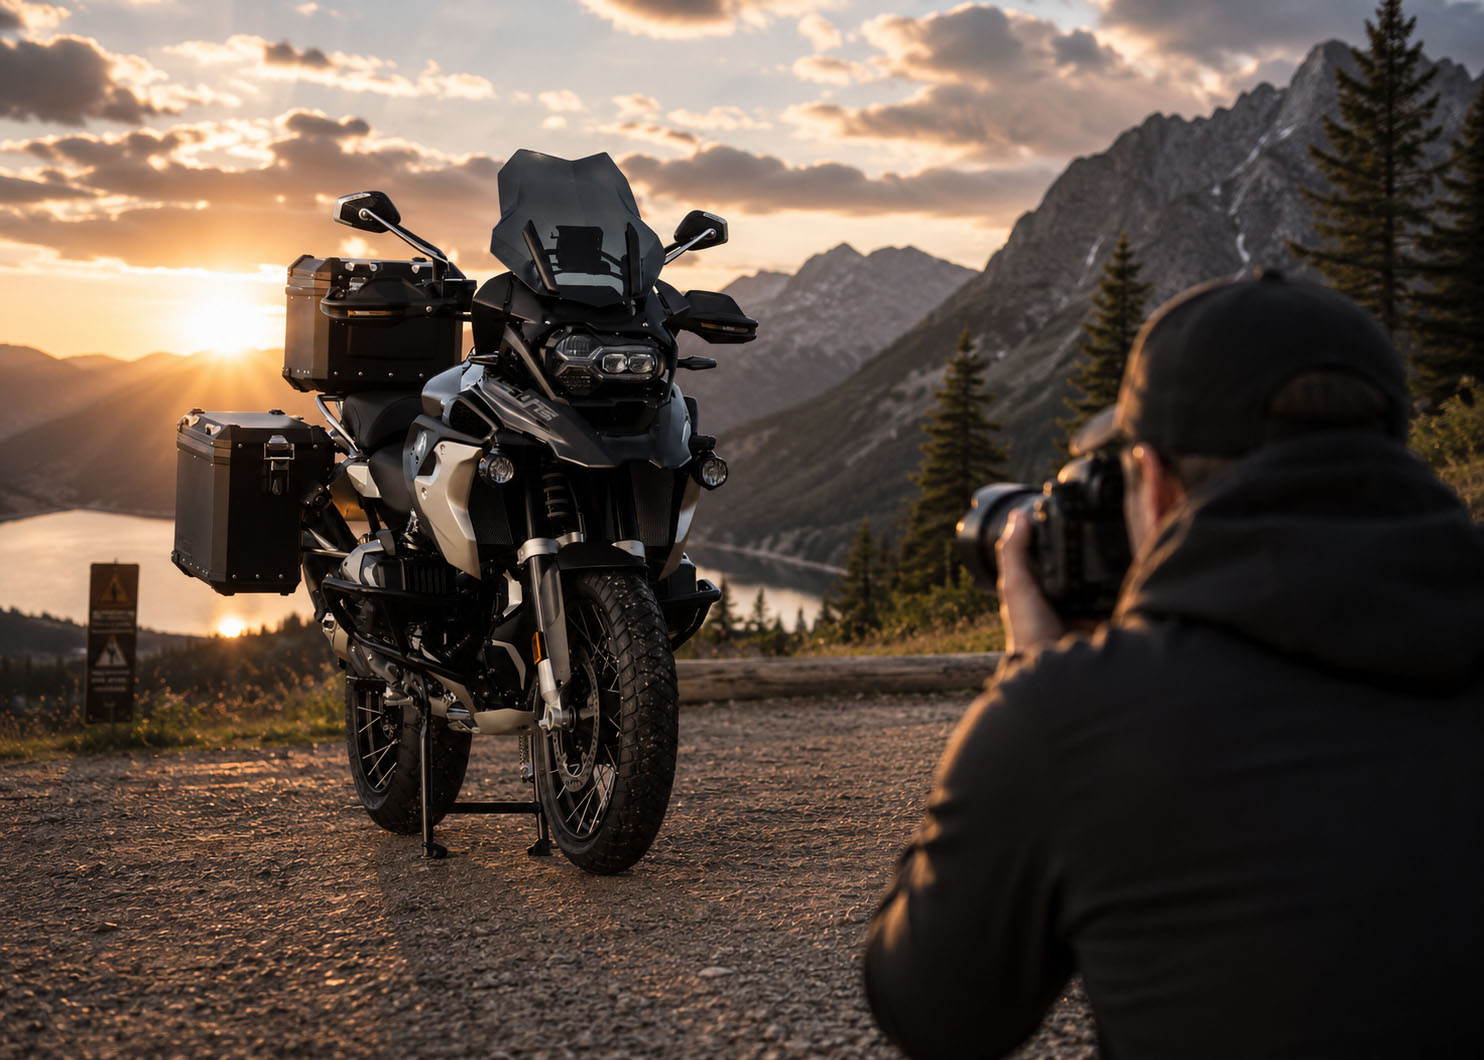
A well-shot motorcycle photograph does something a spec sheet cannot. It communicates how a machine feels — its mass, its aggression, its character. The difference between a photo that looks like a classified listing and one that looks like an editorial spread is almost never the camera. It is always the photographer's understanding of light, composition, and timing.
This guide covers the craft of motorcycle photography from the ground up — whether you are shooting on a smartphone or a full-frame mirrorless, the principles are identical.
Light Is Everything
Every experienced photographer returns to the same principle: you are not photographing the motorcycle. You are photographing the light falling on the motorcycle.
The Golden Hours
The hour after sunrise and the hour before sunset produce directional, warm, low-angle light that rakes across surfaces and reveals texture. Chrome catches fire. Paint glows. Shadows are long and soft, adding depth without the harsh contrast of midday sun.
Why midday fails: Overhead sunlight creates flat, unmodelled light on horizontal surfaces and harsh shadows in all the wrong places. A tank shot at noon looks like a paint catalogue. The same shot at 07:00 looks like a magazine cover.
Overcast as a Softbox
A uniformly overcast sky is effectively a giant softbox — diffused, directional light with no harsh shadows. It is ideal for detail shots: engine cases, exhaust pipes, dashboard instrumentation, tyre profiles. The lack of direct sunlight means colours render accurately and metallics show their texture without blowout.
Artificial Light
Studio-style shooting with flash or LED panels gives you total control over direction and intensity. A single large softbox to the side-front of the motorcycle, with a reflector opposite to fill shadows, is the foundation of most professional product motorcycle photography. The limitation is that you need power, equipment, and ideally a space large enough to back up enough to use a moderate focal length.
Location and Context
The location is not a background. It is a character in the image.
What makes a location work:
- Textural contrast — a polished machine against rough concrete, weathered brick, or desert rock creates visual tension that clean backgrounds eliminate
- Contextual truth — an adventure bike in a car park makes no sense; the same bike on a mountain track does. Location should tell a story about what the machine is for
- Light management — urban environments create unpredictable light pollution, reflections in chrome, and competing colours. Scout your location at the same time of day you intend to shoot
Urban Environments
Industrial areas, old ports, multi-storey car parks, underpasses, and train yards offer raw, textured backdrops. The key is managing reflections — glass, puddles, and polished surfaces will capture everything within 20 metres, including you.
Open Landscapes
Mountain roads, coastal routes, and desert tracks provide the scale that makes a lone motorcycle feel epic. A wide-angle shot with the bike small in frame and the landscape dominant communicates the adventure riding ethos in a single image.
Camera Settings and Focal Length
Focal Length and Perspective
This is the most technical variable beginners overlook. Focal length changes not just framing but apparent perspective — the relationship in size between objects near and far.
- Wide angle (16–24mm): Dramatic, exaggerated perspective. Close-up foreground elements appear large; background recedes. Powerful for full-bike environmental shots but distorts shape near the edges.
- Normal (35–50mm): Close to how the human eye perceives space. Good for natural-looking full-bike shots.
- Short telephoto (85–135mm): Compresses perspective, making background and foreground feel closer together. Flatters the motorcycle's proportions and throws backgrounds into soft blur. The workhorse focal length for motorcycle photography.
- Long telephoto (200mm+): Maximum compression. Backgrounds become colour fields. Excellent for tracking shots and isolating the bike against landscape.
Exposure Settings
For static shots:
- Aperture f/5.6–f/11: Keeps the whole bike sharp while allowing some background separation
- ISO: As low as your light allows (100–400)
- Shutter speed: Whatever achieves correct exposure; use a tripod if below 1/60s
For motion shots (panning):
- Shutter speed: 1/30s–1/80s — slow enough to blur the background, fast enough to freeze the bike
- Panning technique: Track the moving bike with your camera and press the shutter while moving. The background blurs horizontally; the bike stays relatively sharp
- Expect to shoot 20–30 frames to get 2–3 sharp ones. Panning is a numbers game.
Composition Fundamentals
Rule of Thirds vs. Central Composition
The rule of thirds (placing the subject off-centre along the intersection of a 3×3 grid) creates dynamism and forward motion. For a moving or parked-with-intent bike, this typically means placing the front of the motorcycle in one third of the frame with space ahead of it.
Central composition works for symmetrical machines — a perfectly aligned front-on shot of a café racer can be as powerful as any off-centre composition. The rule is that the composition must be intentional, not accidental.
Low Angles
Shooting from knee or ground height transforms a motorcycle. The bike gains mass and presence. The horizon drops. Sky fills the frame. Even a modest machine looks imposing from 30 cm off the ground — a principle well understood by every manufacturer's marketing department.
Detail Work
Some of the most powerful motorcycle images are not full-bike shots. A close-up of an engine case, the relationship between a tyre sidewall and a brake calliper, the texture of a well-worn grip — these details communicate quality and character that full-bike shots often obscure.
For detail shots: Use a tripod, shoot at f/5.6–f/8 for sufficient depth of field on close subjects, and use a cable release or self-timer to eliminate camera shake.
Shooting from a Moving Vehicle
The classic editorial technique: a camera vehicle travels alongside, ahead of, or behind the subject motorcycle while a photographer shoots. This produces images impossible to achieve statically — the sense of speed, the road moving beneath the tyres, the rider in context.
Safety first: This requires a second vehicle, a driver whose sole job is driving, and clear communication with the motorcycle rider. A co-pilot to manage the camera window or strap while the driver drives. Never attempt handheld camera work from a moving vehicle without another person driving.
Technical note: Shoot into or across the light, not with the sun behind you. Side lighting from a low sun while tracking alongside a motorcycle produces magazine-quality results. Shooting with the sun behind you flattens everything.
Post-Processing Philosophy
Heavy post-processing tends to age badly. The HDR motorcycle photographs that looked impressive in 2012 look dated now. The film-emulation colour grades of the 2020s will age too.
A more durable approach: correct what needs correcting (exposure, white balance, lens distortion), then make choices that serve the image rather than demonstrate software capability. If you cannot explain why a processing decision improves the image, reconsider making it.
The best motorcycle photographs carry one quality above all others: they make the viewer want to ride.
Start Shooting
The most common obstacle is waiting for perfect conditions — the right location, the right light, the right camera. None of it matters without the repetition of actually shooting.
Your first hundred motorcycle photographs will be poor. Your second hundred will be less poor. Somewhere in the third hundred, you will make an image that surprises you.
Go outside. Bring the bike. Start there.